Happy Hear Audio takes raw voice recordings from your audio guestbook phone and turns them into a polished, branded gallery you can hand off to clients in minutes. This guide covers everything you need to get up and running, from creating your account to delivering a finished gallery.

Step 1: Create your account
Go to happyhearaudio.com/auth/sign-up and sign up with your email. You can start on the Pay Per Event plan ($39/event) with no commitment, or go straight to Monthly Unlimited ($49/month) if you're booking events regularly.
Once you're logged in, you'll land on your dashboard. Before you create your first event, take five minutes to set up your branding. It will automatically apply to every gallery you deliver.
Step 2: Set your brand colors and player style
Go to Settings → Branding in your dashboard sidebar. This is where you configure how your client galleries look and feel.
Here's what you can customize:
- Business name. Appears in the gallery header so clients see your company, not "Happy Hear Audio."
- Logo. Upload your logo (PNG or SVG with transparent background works best). It shows in the gallery topbar on every event.
- Player accent color. This is the primary color that drives your player and waveform. Pick something that matches your brand: navy, gold, deep green, blush pink, whatever fits your aesthetic.
- Player style. Choose from four styles: Vinyl (spinning record), CD, Cassette, or iPod. Each one renders the event name on the player face. Preview them before committing. You can always change it per event later.
- PDF guestbook accent color. Separate from the player color. This drives the cover and back page of the printed PDF guestbook your clients receive.
Your branding settings become the default for every new event you create. You can override the accent color and player style per event if you want to match a specific wedding or event aesthetic.
Step 3: Create an event
From your dashboard, click New Event. Fill in the event details:
- Event name. This appears on the player face and gallery header (e.g. "The Morrison Wedding" or "Smith 50th Anniversary").
- Event date. Used for sorting in your dashboard and displayed on the gallery.
- Transcription language. Auto-detect works for most events, or pick the language your guests will speak. It is used for transcripts and guest name recognition.
- Cover image. Optional. Best size is 1200 x 900 (PNG or JPG, up to 5 MB).
- Password protection. Optionally set a password for the gallery so only the couple and their guests can access it.
- Customize the look for this event. Leave it off to use your brand defaults, or turn it on to pick an accent color, player style, and waveform animation style just for this event.
Once you save the event, you'll see it in your dashboard with an "Upload Recordings" button ready to go.
Step 4: What to upload (and how to get the files)
Happy Hear Audio accepts MP3, WAV, M4A, AAC, OGG, FLAC, and WEBM files. Any audio format your phone or recording hardware outputs will work.
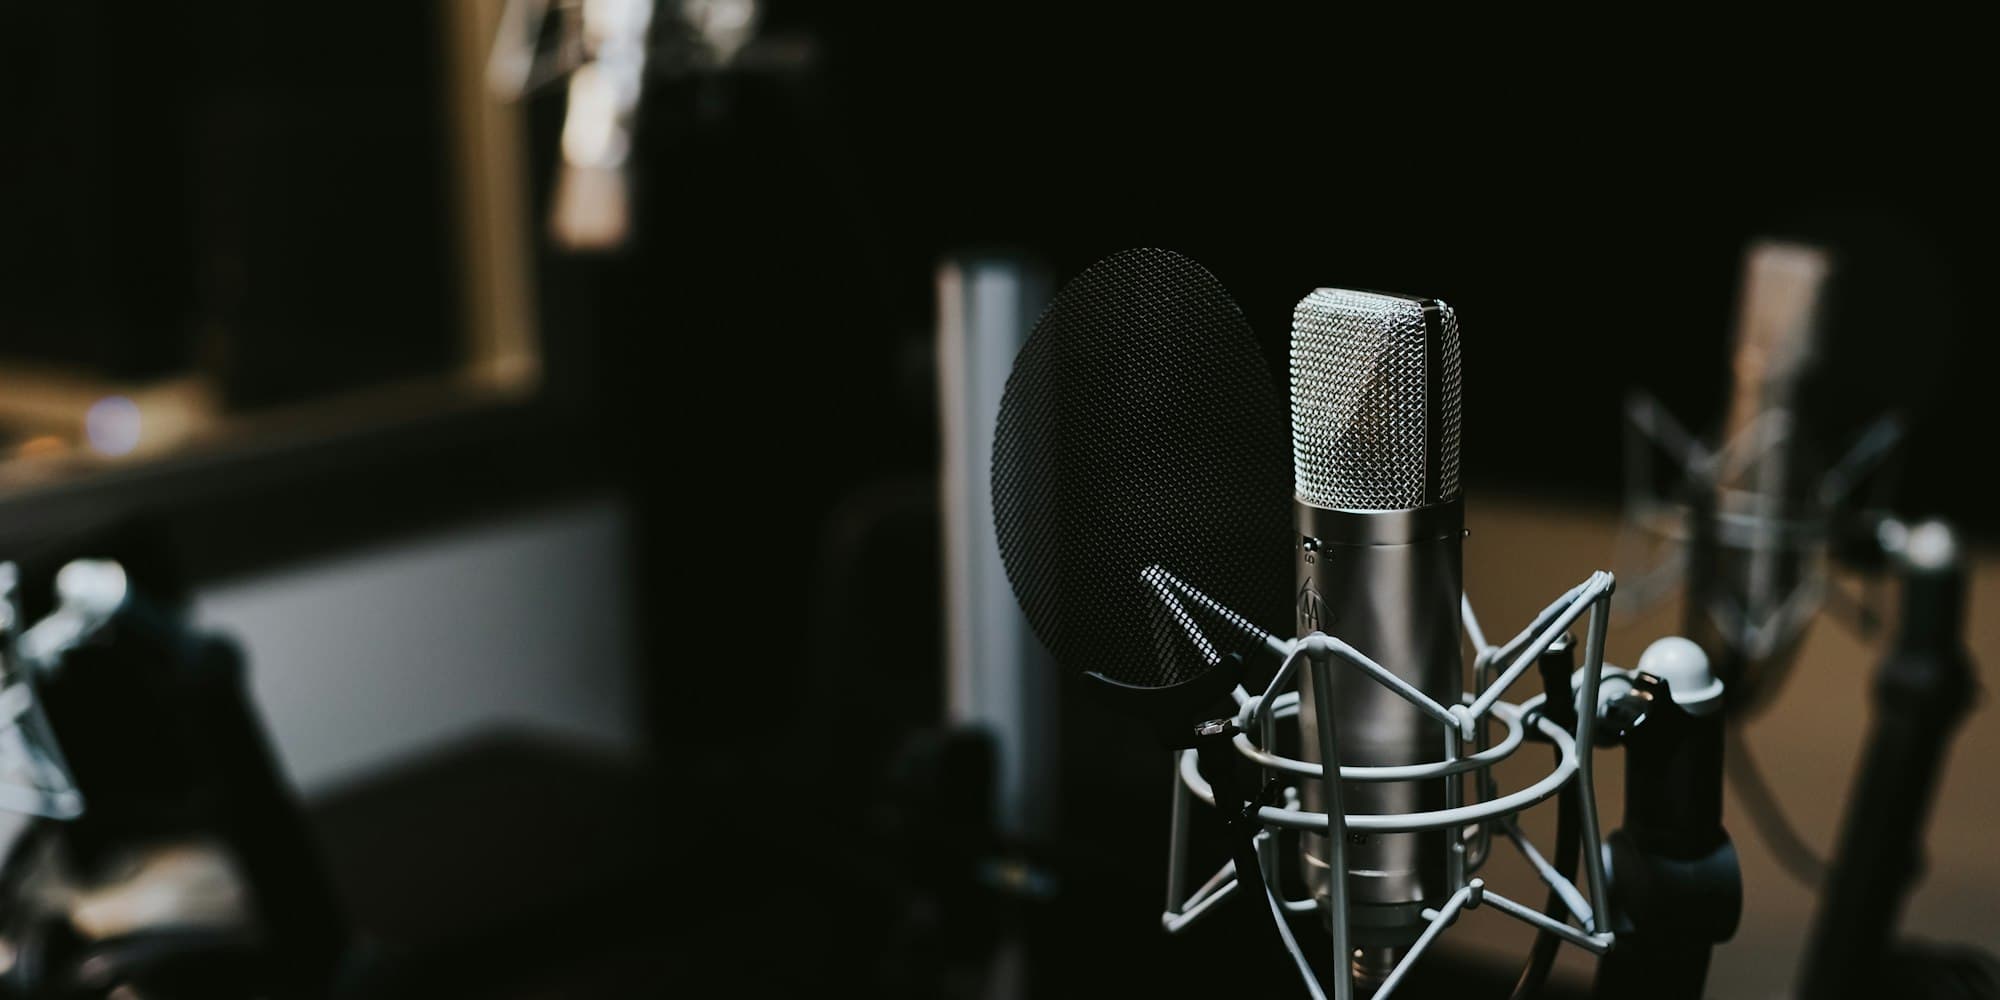
How to get the files off your guestbook phone: Most audio guestbook phones save recordings to a USB drive, SD card, or built-in storage you can access via USB cable. Connect the phone to your laptop, locate the audio files (usually in a folder called RECORDINGS or MESSAGES), and drag them to your desktop.
If your phone emails the recordings directly, just download the attachments from your inbox. If you use a dedicated app like Guestbook Phone, Memorable, or similar, export the files from within the app.
Upload tips:
- You can upload multiple files at once. Select all recordings and drag them in together.
- Name the files before uploading if you want guest names in the track list (e.g. "Sarah and Jake.mp3"). The platform will use the filename as the track name by default.
- Don't worry about audio quality. The AI cleanup runs automatically on every upload.
- There's no file size limit per track, but files over 60 minutes are unusual for guestbook messages. Standard messages run 30 seconds to 3 minutes.
Once uploaded, each recording is cleaned automatically. Background hum, room noise, and microphone handling noise are removed, and cleaning usually takes a few minutes. You'll see a processing indicator in the track list while it runs.
Each track also gets a transcript (via OpenAI Whisper) and an emotion tag (Heartfelt, Funny, Celebratory, or Nostalgic) automatically applied based on the message content. These make it easy for clients to navigate a large gallery of messages.
Step 5: Story mode
Your client's gallery already plays straight through: when one message ends, the next one starts, so a couple can press play and hear every guest in order. To set that order, drag the handle next to each message on the event page (for example, immediate family first, then friends, then the fun group messages at the end).
Story Mode is a separate fullscreen player made for social. On the event page, under Post on social, click Story Mode. It opens a vertical player sized for Stories that plays every message back to back, in the same order as the gallery. Screen-record it and you have a full reel of the event to post.
Story Mode uses your event's accent color, another reason it's worth setting a custom color per event that matches the couple's palette. It isn't available for password-protected galleries; visitors are sent to the main gallery to enter the password.
Step 6: Deliver the gallery
When your tracks are processed and you're happy with the order, click Publish Gallery. This generates a shareable link at happyhearaudio.com/g/[your-event-slug].
From the event page you can:
- Copy the gallery link to paste into your delivery email
- Click Send to Client and enter your client's email to send them the link from the dashboard
- Download the PDF guestbook (a printable version with all transcripts and your brand colors on the cover)
- Download the waveform video clips for each track: social-ready MP4 files your clients can post directly to Instagram
The gallery is mobile-optimized and works on any device without an app download. Clients just tap the link, and their gallery opens instantly in the browser.
For more on how to position the gallery as a premium deliverable in your packages, see our guide to adding audio guestbooks to your photo booth business.
You're ready to go
That's the full workflow: account setup, branding, event creation, upload, story mode, and delivery. Most operators complete their first event from upload to delivered gallery in under 15 minutes.
If you have questions, the dashboard has a help section covering common upload issues, gallery settings, and billing. And if you're comparing platforms before committing, our audio guestbook software comparison covers the major options side by side.
Founder, Happy Hear Audio
Liz has run a photo booth company in LA for years and built Happy Hear Audio after doing audio guestbook delivery manually for too long. She writes about what actually works for operators in the field.
Ready to try it?
Deliver your first audio guestbook gallery today.
Start with Pay-Per-Event, $39 per event, no subscription required.
Get Started